Setting up writting a blog
After you have followed the process of setting up your machine for dev, the next step is to clone the repository that holds the code for the blog to your machine. You then can start making changes and creating new blog posts and deploying them to the GitHub repository. There are two different pushes to the repositories.
But first you need to clone the repository
create a directory and open that folder with VS Code.
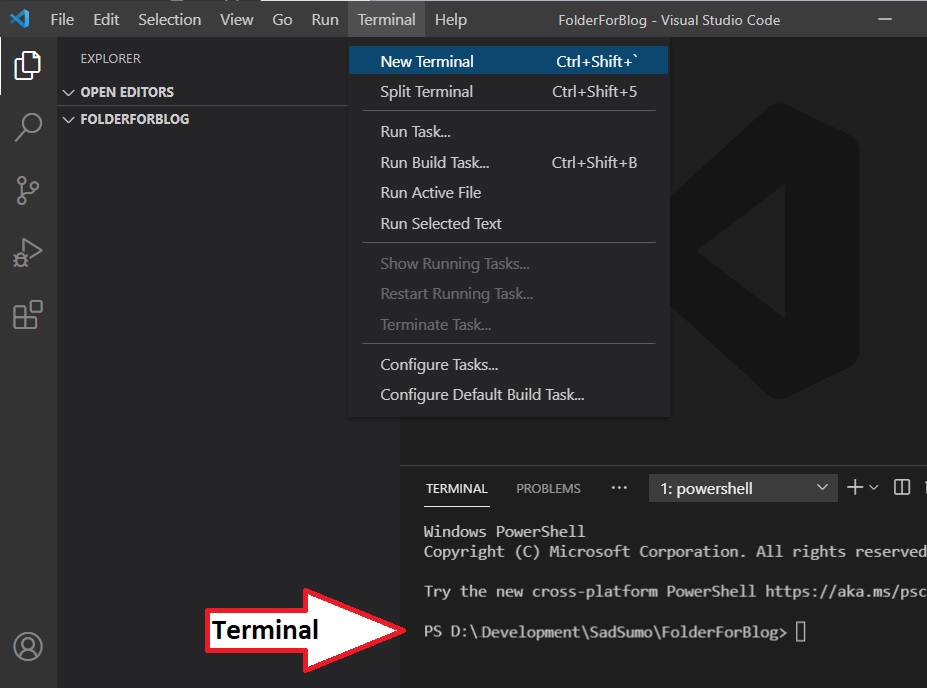
open a terminal in VSCode

Creating and deploying a new blog#
Installation#
Local Development#
This command starts a local development server and opens up a browser window. Most changes are reflected live without having to restart the server.
Create the blog#
create an MD file in the blog folder. Follow the naming convention you see in the folder where the file is named: 'yy-mm-dd-shortName.md'
you can find out more about the MarkDown Syntax -> MarkDown Documentation
Build#
Once you are happy with your blog you will need to build it.
This command generates static content into the build directory and can be served using any static contents hosting service.
Pushing Changes To Update The Blog Site#
Now you need to push your changes so they will appear in the blog.
This command is different depending if you are on a Windows or Linux platform. In either you can use Visual Studio Code. In a terminal run the command below.
- Windows
- Linux
Follow these instructions to generate a -> Personal Access Token
From GitHub "Basic authentication using a password to Git is deprecated and will soon no longer work. Visit https://github.blog/2020-12-15-token-authentication-requirements-for-git-operations/ for more information around suggested workarounds and removal dates."
Visual Studio Code should open your default browser and have you authenticate
Pushing Changes To The Blog Repository To Save Your Changes.#
The commands should be the same in either windows or linux. make sure to save your changes. Then stage and commit your changes and push it to the repository.