Installing Git in a Windows Machine
git#
Follow the link above
The download should start automatically, but if it does not click on the link "Click here to download manually".
Double-click the executable. In Windows 10 you will get a UAC prompt, click Yes.
Accept the license terms.
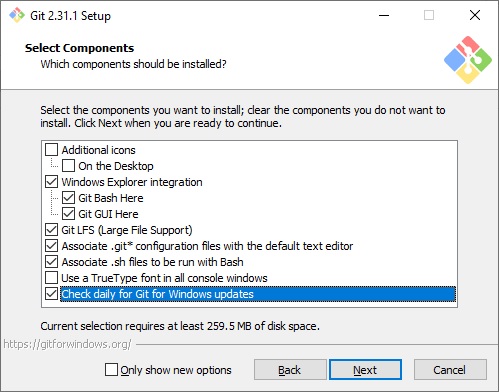
In the select components window, make sure:
"check daily for Git for Windows Updates" is checked
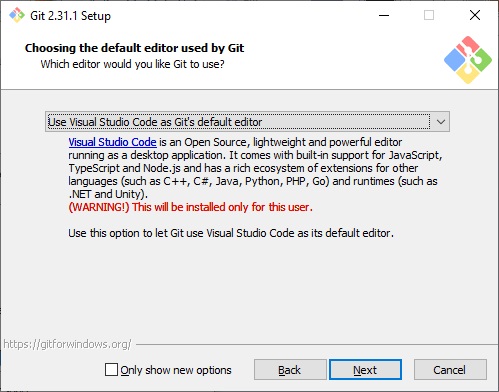
In the "Choosing the default editor used by Git" window:
Ensure "Use Visual Studio Code as Git's defalut editor" is selected.
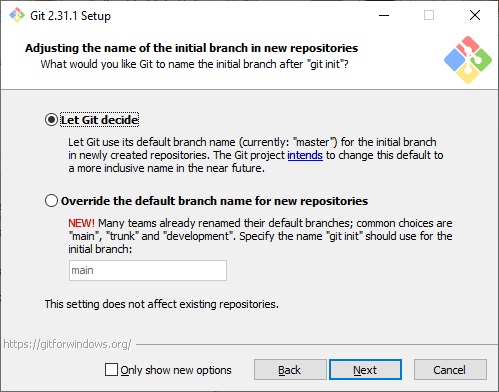
In Adjusting the name of the initial branch...:
Leave the default of "Let Git decide"
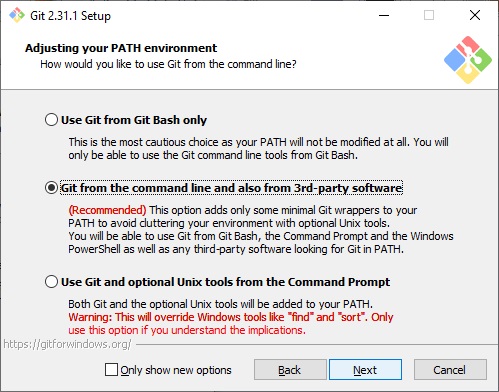
In the Adjusting your PATH window:
Leave the default of "Git from the command line and also from 3rd-party software
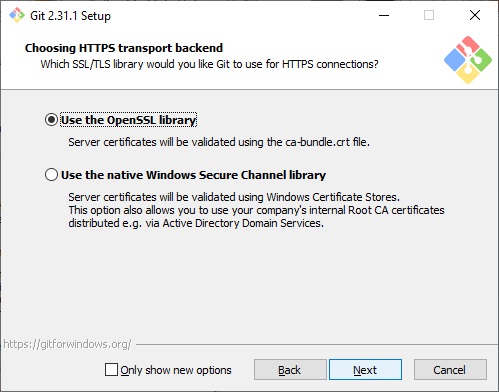
In "Choosing HTTPS transport backend:
Leave default "Use the OpenSSL Library"
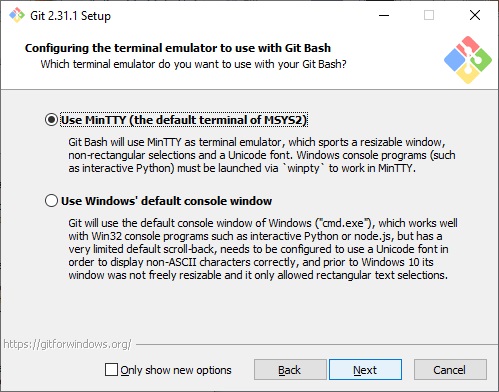
In Configuring the terminal emulator:
Leave "Use MinTTY (the default terminal of MSTS2)
you will mostly be using the terminal in VS Code
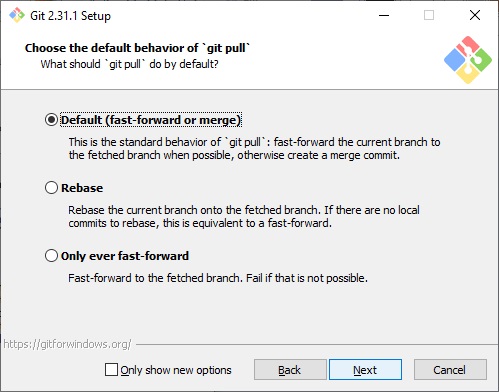
In Choose the default behavior of 'git pull'
This is debatable, so if you know what you are doing, you decide.
if you do not know, leave default.
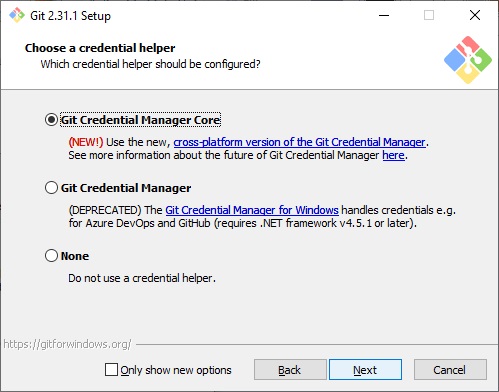
In Choose a credential helper:
very excited that Git Credential Manager Core is an option. LEAVE IT!!
In Configuring extra options:
leave the defaults
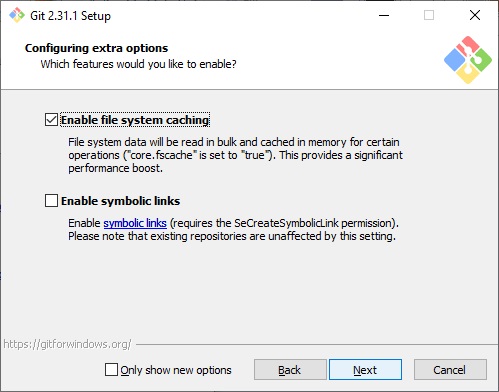
In Configuring experimental options:
- save yourself a headache and leave this unchecked
Let the install run
Do you really want to read the "Release Notes"? uncheck that. Also you do not have to check Launch Git Bash unless you want to see that run.
you can verify that Git is installed by running the following command in the VS Code terminal, a CMD window, or PowerShell console. And of course you can run Git commands in Git Bash, duh:
now you need to add your GitHub credentials to git